Sunday 30 May 2010

Organized?

or not?..... I like to take touring holidays in the USA... but they can be fast and furious and my memory is shocking............
So last year I decided to make myself a travel journal to take with me........ the idea being when I scrapped the photographs I'd know when and where I'd been. These stamps from Purple Onion were just the thing to mark the days and dates, they also made great page tabs!


Well I did fill it in as I went along......

and were a great help when it came to scrapping those pictures.......
Though I must confess I still have half of them to do!

Hope you like this!
Effie
XXX

Friday 28 May 2010

Purple Onion

Purple Onions , no it's not another recipe , i will post a nice cake one next week for you all.

No this PURPLE ONION I am refering to is one of my favourite stamps . I love this HAPPY BIRTHDAY stamp by them and find lots of ways to use it.

This is just one of the cards I make with it and you could change it and put MUM on instead of DAD. You could even add more section for a longer name.


It's very simple I just stamped the image 3 times (this one was embossed)then covered 3 pieces of thick card slightly bigger than the stamped image with patterned paper and mounted the images on these pieces.Attached ribbon on the back and then covered that with the patterned paper.

Saturday 22 May 2010

Do you like colour?

If the answer is yes then you need to get some of this

It's Brusho..... something I can't do without!
It's a very concentrated powder dye especially made for paper. It's translucent so colours can be overlaid to give some fantastic effects. Use an acrylic paint as a resist, either paint it directly on to paper, scrape on with a credit card or the method I like best is to use a piece of vinyl wallpaper as a stamp,when dry paint on a layer of Brusho over the top. The red spot was done this way.
Apply Brusho to your paper and when dry stamp with bleach....... the flowers above use this method Your hand coloured papers will always be unique and look fab when made up into an art journal.

The spots below are the reverse of the red spot paper..........
Sometimes the back looks better than the front

Always have your work surface covered with scrap paper ............ this piece usually turns out the best.......................
And it will wash off your hands.........eventually!
Hope you like this
Effie
XXX


Friday 21 May 2010

Blog Candy WINNER

Drum roll please


The winning no is 30

Well done Kirsti , could you please let me have your address and we will get your winnings out to you .

Thanks to all that signed up , we will be back soon with more Blog Candy so keep checking the blog

Tuesday 18 May 2010

Julie: Good things come in small packages

Hi everyone.
Today I thought I'd share one of the scrapbook pages I've made using elements of one of the monthly Alter That kits.

Have you seen the Alter That kits ? They're different each month but always contain treasures such as vintage ephemera and image sheets, the May kit is now available and it contains a border stamp from Lost Coast Designs and one of the new range of Spritz from Smooch.

As they're so unique, there's always something inside these kits which sparks an idea for a new layout.
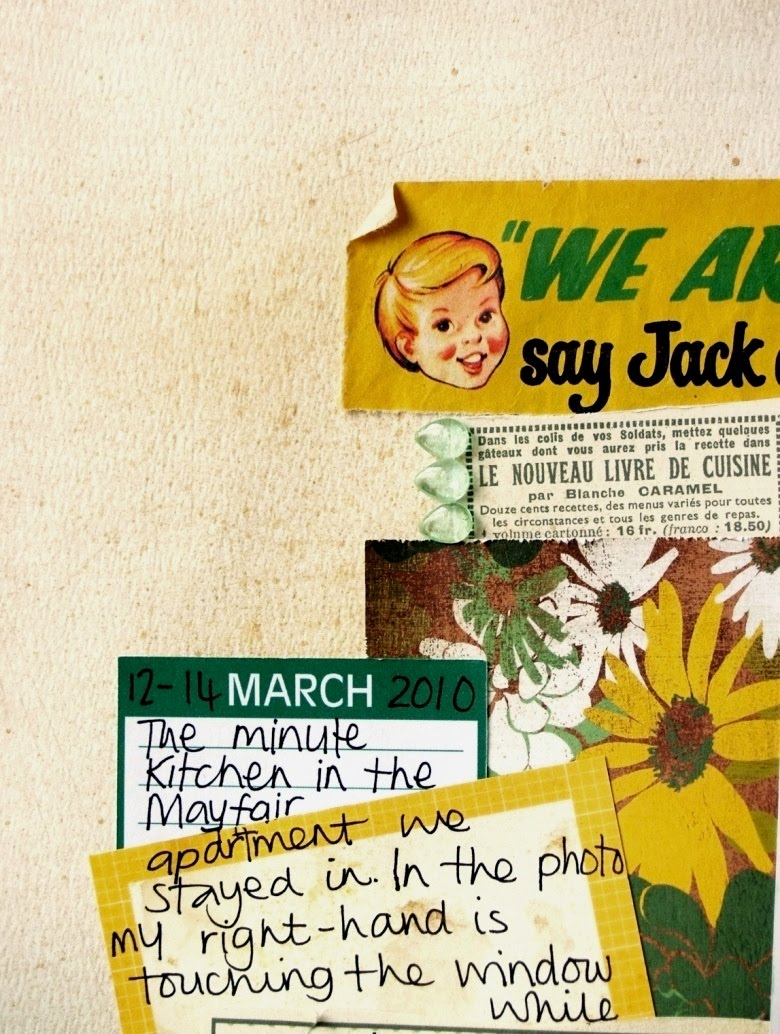
This time around it was the front cover of a vintage comic with it's headline 'We Are Inside!':

[You can click on the photo for a closer look]

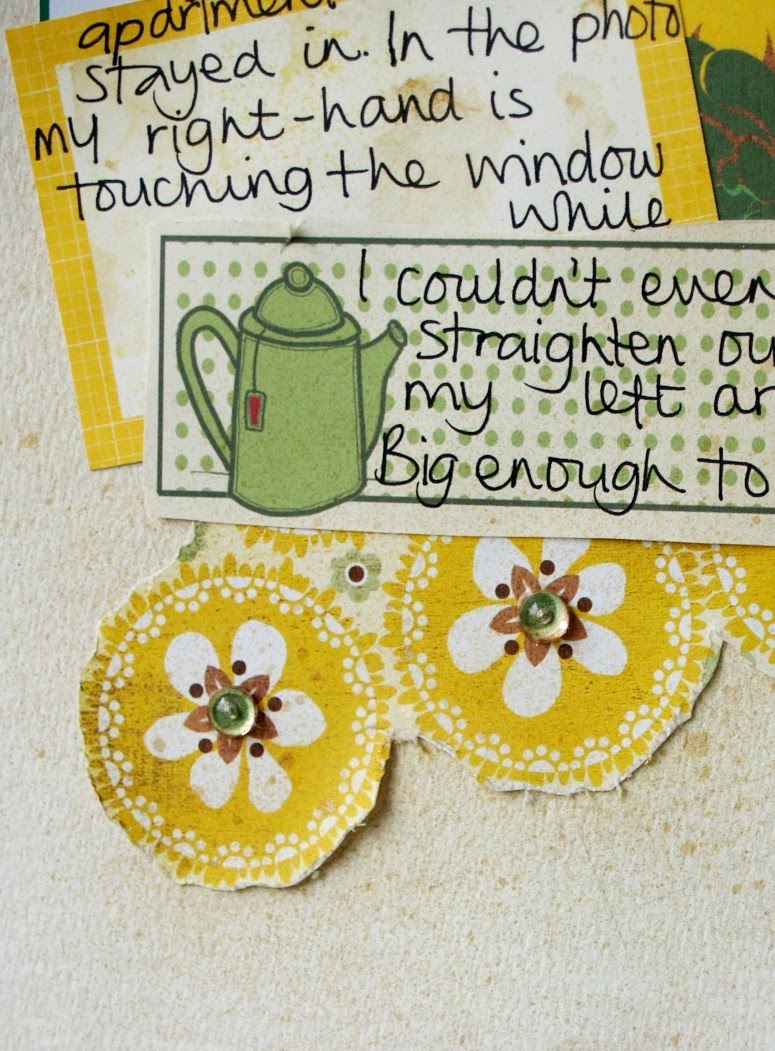
When I spotted that headline I knew it would work perfectly with the story of the teeny tiny kitchen we had in our London holiday apartment this spring. In the photograph the arm you can't see is outstretched and actually touching the kitchen window while I couldn't even straighten out the other arm .... it was that small:

This is where the word 'crush' [tucked in behind my photo] came in useful! It's from the vintage soda bottle labels, which you can buy in packs of 10:It certainly was a crush in there, the two of us couldn't fit in and move at the same time and you couldn't even bend down to open the fridge door without a certain part of your body jutting out into the living room area!

Before layering-up my vintage ephemera I'd sprayed my cardstock lightly with the new smaller, handy sized 1oz Shimmerz Vibez spray in 'Rolling in the Hay': And finally I added some finishing touches with some 'Under the Sea' Robin's Nest gems:

So, next time you've got a story you want to tell, have a look through your Alter That kit items and your 3djean vintage ephemera to see if there is anything there which can help you tell the tale. It could be:

  • a title from a comic page like mine;
  • or the text on vintage pages;
  • an image which mirrors what's happening in your own photographs or;
  • an appropriately themed label.

It's such a fun discovery to find something that, unlike that kitchen, is just the right fit for the task in hand!

I'll be adding my layout to my Flickr gallery where I upload most, if not all, of my crafting projects. If you use Flickr too then let me know as I'm happy to set up a 'Scattered Scarlet' group there into which we can all add our 3D Jean inspired projects.

Until then, we'd love to see your 'Alter That' kit projects so do share them with us wherever you have them on display ... although it's probably best if they're online somewhere, unless you want the whole design team trampling through your living room!

Julie ;)

Sunday 16 May 2010

ooooo Blog Candy

The blog has been up and running for a while now and myself and the design team have been making some great stuff. We thought somemone might like some of those lovely makes. So here is a blog candy giveaway. You get some of the things that have been made and some items that have not even appeared on the blog yet.Along with a pile of goodies from the shop.
Just put your name down and the winner will be drawn Friday 21st May


Friday 14 May 2010

How long is a piece of string?

........I have no idea but here's a place to keep it!
There's lots of 'altered' bean tins out there but hopefully this is a little different. You need ring pull tins.... as they leave a small lip inside when they're opened. Cover your cleaned tin with patterned paper.......... Stamp lots of different strips of patterned paper with a selection of border stamps... you can get them here A great way of using scraps............Cut out and glue in place around the tin. Cut a circle of chipboard to fit inside the tin........ this must be a snug fit as it just pushes into place, cover with patterned paper, punch a hole in the centre for your string to come through.
There you have it........... something pretty and useful to sit on your desk. You could cover the entire tin with strips or just use one or two.... add stickles, gems, ribbon , lace. Make it as plain or as decorative as you like.
If you make one it would be great if you put a link in your comment so we can come and see it!
Hope you like it!
Effie XXX

Wednesday 12 May 2010

At the border

I spotted these fab borders that Jean had got in the other day and they just had to come home with me! At £2 each they are a steal. The only problem was that I didn't have an acrylic block long enough but I soon resolved that by using my Cuttlebug B plate. It fits a treat diagonally. There's a few more designs that I need to collect but at that price a girl can have the full set and not break the bank.
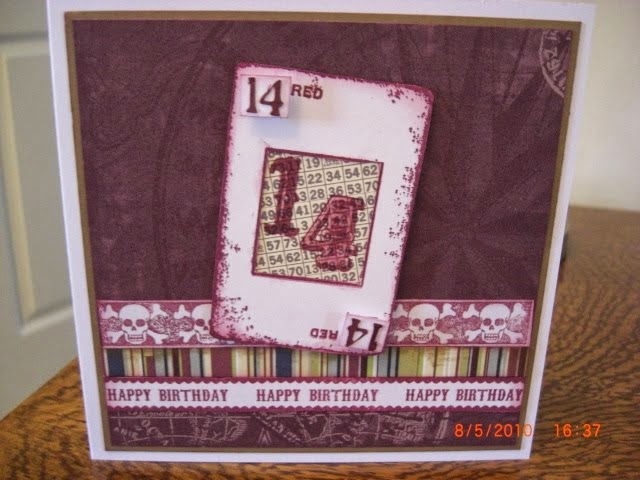
Here's a card I made for my great-nephew' s birthday using the skull and crossbones border. The background paper is from that lovely Websters papes pad that I'm in love with ( see my earlier post). This pad is so verstitle on one side all lovely vintagey designs and the other has lots of designs suitable for men, what more could you ask for from a pad of paper? So if you need a border or two pop over to the shop, you'll be spoilt for choice
.

Friday 7 May 2010

Let Love Soar ...

I like the colour red, such a happy colour and it just happens to be the feature colour of my bedroom and ensuite bathroom and I also just happened to have a space on a wall that needed filling with something suitably red :)

So, I riffled through the drawers in my craft room and pulled out a few bits and pieces - red paint, a paper doily, a few pots of shimmerz paint, some dewdrops (in red of course), a mini canvas and a valentined themed tissue image sheet and got to work


I started by painting the canvas with paint and then shimmerz paint, I added the doily and used more of the shimmerz paint and spray over the top and when it was dry I distressed it slightly with charcoal chalk ink. I glued a line of red dew drops all around the edges of the canvas, trimmed around one of the elements from the image sheet and added some word snips that I printed from my computer


The wings for my creation came from a digital kit I had on my computer and I sprayed them with two colours of Shimmerz spray and added some golden threads to give them more definition and a hanging loop and my project was finished


Love from Andrea

Thursday 6 May 2010

Brownies or Blondies

Brownies or Blondies. Well I think there both nice really. So my latest offering to you are my Blondies. Lots of white chocolate makes these very yummy.
your will need
150g white chocolate roughly chopped
125g butter
150g caster sugar
2 eggs
1.5 teaspoons vanilla extract
200g plain flour
120g walnuts , chopped
2 small bags Milky bar buttons

how to make them
put the 150g white chocolate ina abowl with the butter and melt this mixture over water until smooth. Remove from the heat. Add in sugar and stir well. now add the eggs and vanilla stirring fast so you dont end up with scrambled egg. The mixture might look like its going to split dont worry add in the flour , nuts and buttons.
pour into a greased tin and pop in oven for 35-40 mins on 170c , 325f ,gas 3
enjoy
jean x


Sunday 2 May 2010

Jack and Jill went..........

up the hill!.. we all know this nursery rhyme but do you know where it's origins lie? Now for the education bit! The Jack and Jill refered to are Louis XVI who was beheaded (lost his crown) followed by his Queen Marie Antoinette ( who came tumbling after).
You never know when this bit of trivia might come in useful! These Jack and Jill stamps are part of the Mother Goose collection and you can see them here The door hanger is hand cut from chipboard and covered with scaps of patterned paper. The text is computor generated. The hanger and text are inked with the new Tim Holtz distress inks... Victorian Velvet and Pumice. and an old favourite Shabby Shutters. Don't have the right colour flower.......... no problem just get these and use your inks to colour co-ordinate Add a few Dew Drops for that bit of understated sparkle Hope you like it!
Effie
XXX
Related Posts with Thumbnails