Hi there, how's things with you 4 days into a brand new year?
For my first post of 2011 I've created a tutorial to share, step-by-step, how to efficiently print out some of the images from one of several
Image CDs Jean has in stock.
Plus, it's as much a tutorial on how to use Picasa - a free photo-editing software - to print out a sheet of A4 paper completely filled with images so you don't waste any paper. The techniques I show in the photo tutorial below are exactly the same as those I use when printing out my photographs for scrapping too.
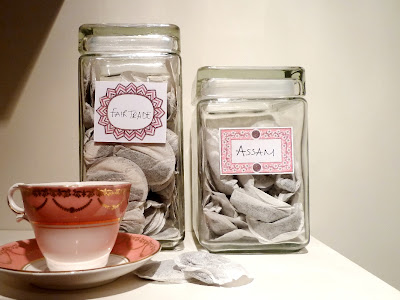
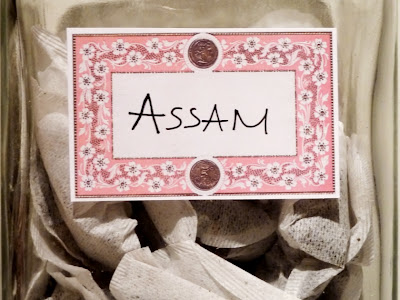
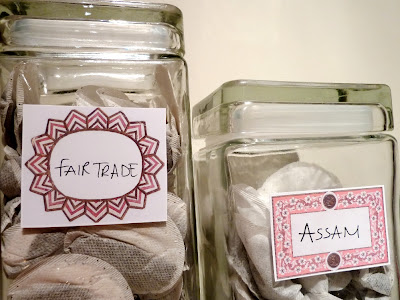
With the 'Vintage Labels' CD I organised my kitchen storage jars:
And here's how ...
Using Picasa to print your own labels
If you don't already have Picasa you can download it for free from Google
here and the put your Image CD into your computer.
You can copy all of the images on the CD onto your computer if you wish, but if you don't want it taking up space on your hard-drive then:
To be able to see them properly go to 'Views' and select 'Extra Large Icons':
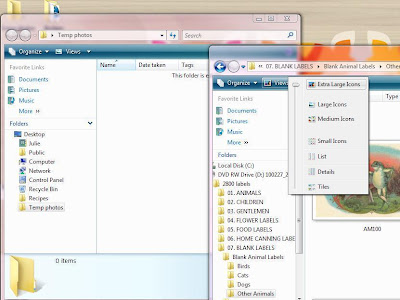
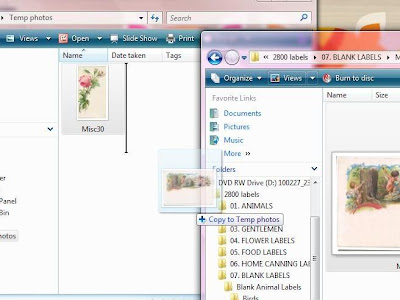
Next create a new folder [by going to 'Organize' > 'New Folder'] where you will store all of the images you want to use.
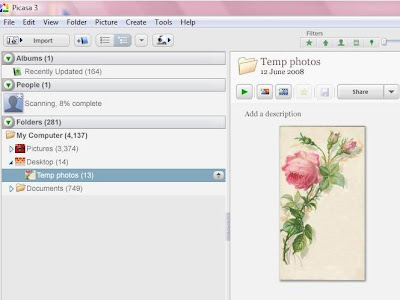
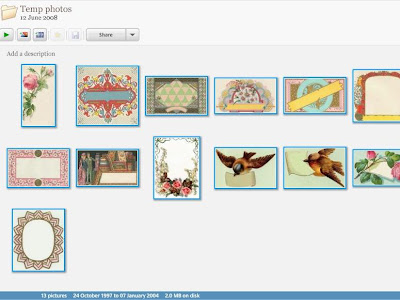
When you've copied over as many images as you want to print out open up the Picasa programme and search for the new folder with the copied images inside:
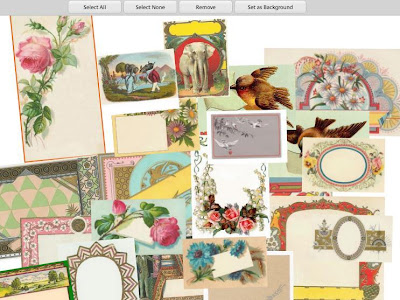
You now need to select all of these images before going on to arranging them ready for printing. The quickest way I know to 'Select All' is:
Click on or near any image in the folder;
Hold down the 'Ctrl' button on your keyboard and then press the 'A' key.
The selected images will have a blue border around them:
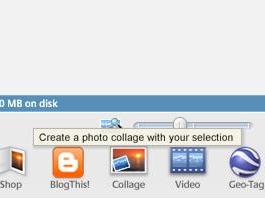
Now you need to create a page from those images by clicking the 'Collage' button at the bottom of the page:
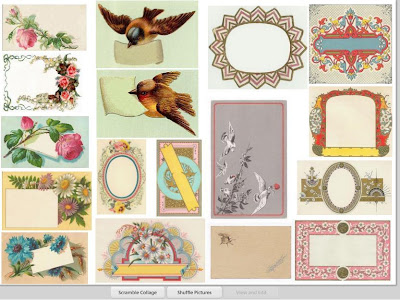
At this stage your images will need some re-arranging before printing:
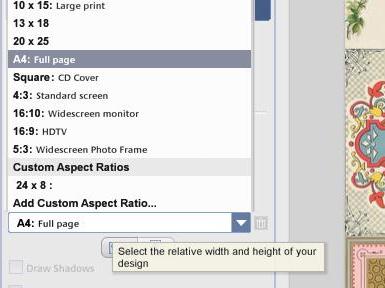
In this new page select A4 from the 'Page Format' box on the left - as this is what you will be printing out onto later:
Next, click the arrow at the top of the page - just beneath the 'Settings' tab.

Make sure to untick the 'Draw Shadows' box before moving on.
Each of your images on the page now has its own wheel to control its individual size and position on the page:
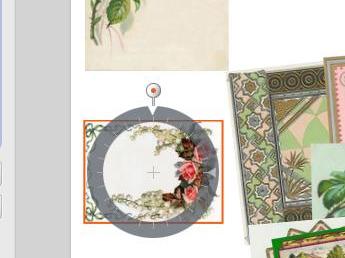
You can rotate, make larger or smaller and grab and move about. This part might take some time but it's worth it as you get to choose the size of each separate image - plus it makes full use of your paper!
After a few minutes tweaking and shuffling here's my finished page:
When you're happy with your finished arrangement - click the 'Create Collage' button at the bottom of the screen:
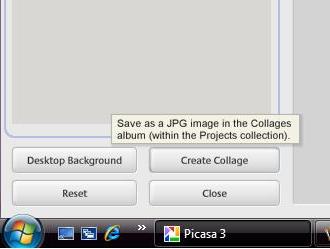
It automatically saves to a folder called 'Collages' - which the Picasa programme creates on your computer [I always end up moving it somewhere else if I'm going to keep the collage for future use, but there's no real need to].
Picasa will prompt you when the collage-making process is complete - and you can click to view it. If you want to print out your page then and there click the print icon at the bottom [or go to 'File' > 'Print'].
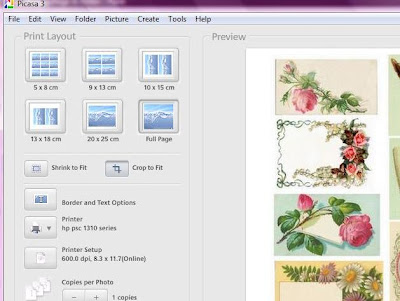
The rest of the default settings are usually fine - so now simply press print at the bottom right of the screen.
I printed my full page of Vintage Labels directly on to self-adhesive photo paper so I could make easy storage jar labels:
They could also be used as journaling blocks, on cards, envelopes, gifts ... etc etc.
And ... considering that I only printed out a handful of the 2800 labels on the 'Vintage Labels' CD I have ... the possibilities are [almost] endless!!!
If you aren't already familiar with them, check out Jean's selection of the Image CDs [priced £3.50] here.
I really hope my tutorial today has helped those of you looking for a way to print out a full page of images. I'd lov eto hear from you after you've given it a go! Just give me a shout either here on on my own blog.
I'll be back later this month, you have fun printing with Picasa!
Julie


 And while I think this next design has sold out already, there are still
 Which is so striking you could almost just throw it into a frame and hang it as is! The other ranges are equally as stunning ... but are all quite different. Do go over and check them all out, if you're tired of the same-old-same-old ranges than


